Compress images using TinyPNG and automate it with MacOS Automator
I often use TinyPNG in everyday life to compress images. This can also be done via the website, but I wanted to automate this, as I often sit at my MacBook and have to compress images for an article - usually the website of my club - and this is very repetitive.
MacOS offers Automator for this, a simple application for creating automations. It really is simple, but the options are sometimes very in-depth; I don’t think there’s anything this program can’t do.
TinyPNG API Key
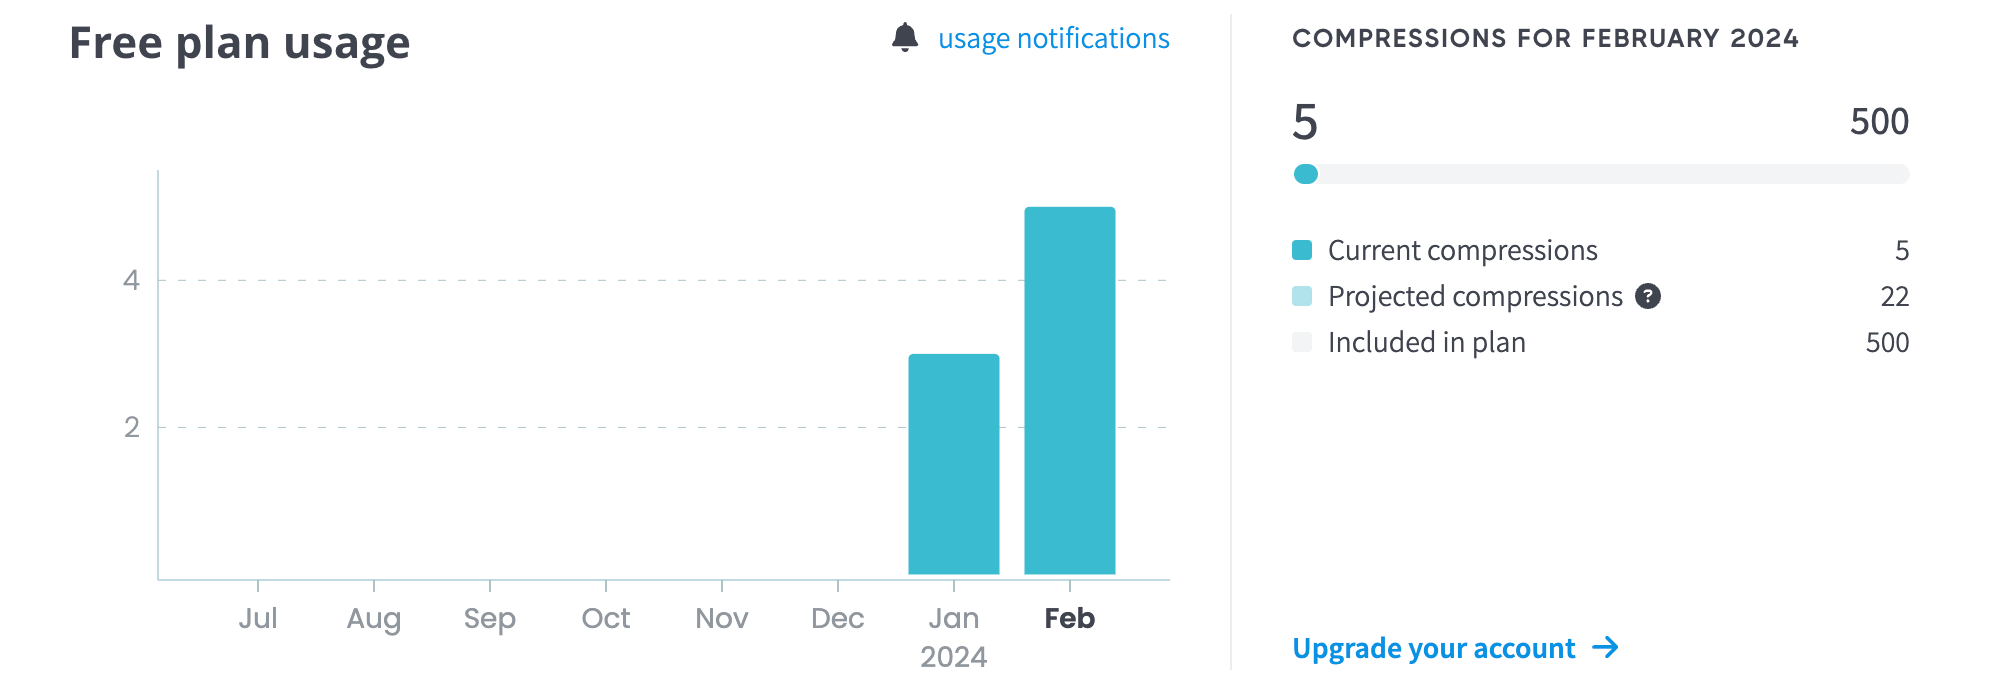
First you need an API key for TinyPNG. This is free for now, but is limited to 500 images per month. I need the automation quite often, but I don’t reach 500 compressions after all.

As you can see, the application is very simple, only name and e-mail address are required.
After confirming the link in the e-mail, the API key is immediately available. There is also an overview of how to use it.
Start Automator
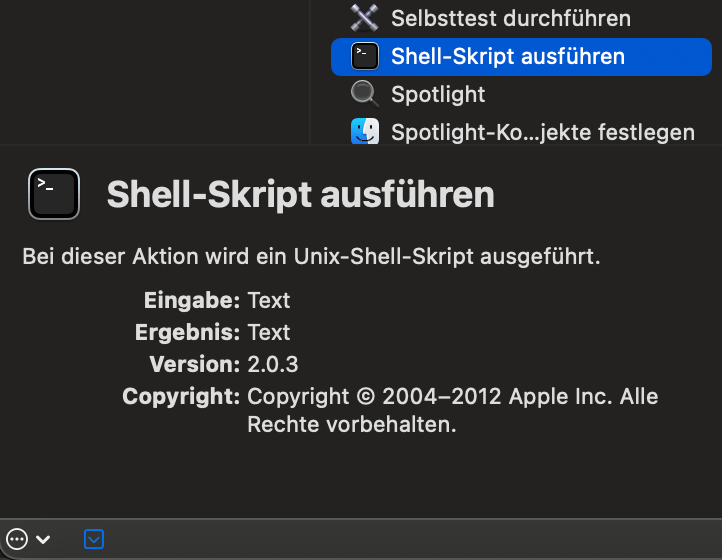
Automator is a pre-installed program that can be found in the Utilities. First create a new workflow there and search for Execute Shell-Script in the library.
Insert Shell-Script
The script can now be inserted in the right-hand part of the Automator, but first a few basic settings. Here you can set that this script only accepts image files from the Finder. You can then select an icon and a color.

For the script, please set the shell to /bin/zsh and input to as arguments.
|
|
Simply copy the code into the Automator, enter the API key and save the script.
Short explanation of the script
The script is written in Bash and uses the TinyPNG API to compress images. First a function tinypng is defined which extracts the filename, directory and file extension and then compresses the image using the API. Then a loop is defined that reads all files in the Finder and then calls the tinypng function. At the end, a sound is played to signal that the process is complete.
Possible adjustments would be, for example, changing or removing the sound and adjusting the target file name in line 9. In my case, the name is simply given the suffix _compressed.
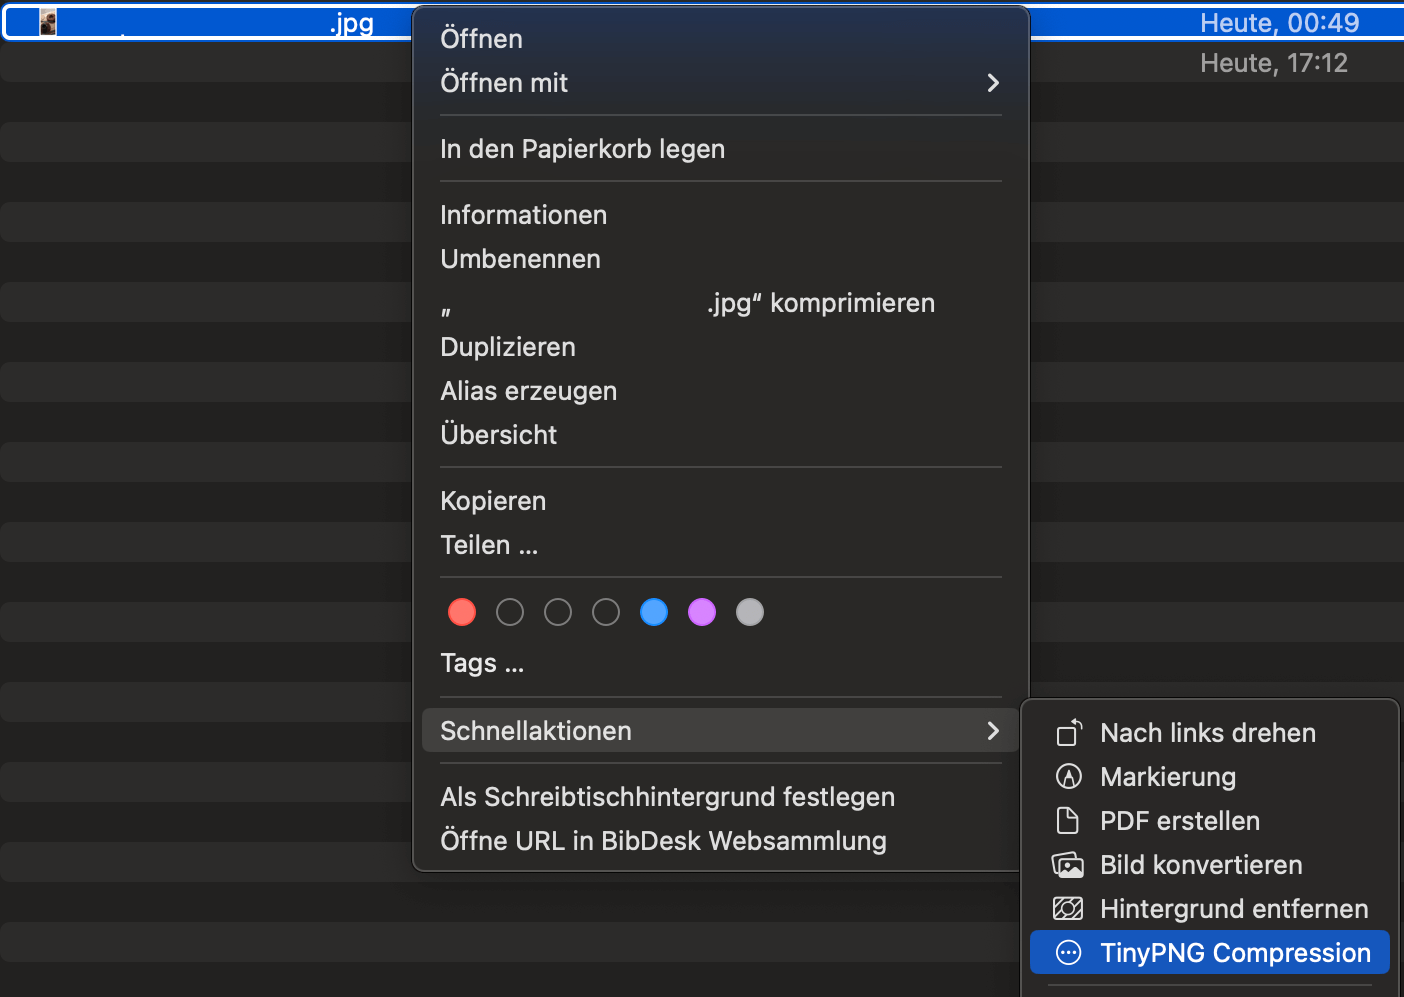
Test the Workflow
The workflow can now be tested by simply selecting an image, right-clicking and selecting the workflow under Quick Actions.